ByConity Development Environment Setup
Our developers connect to a Debian 11 development environment running on a virtual machine using a plugin called Dev Container in VS Code. Therefore, we also recommend that you use the same approach for development to avoid many dependency and compatibility issues. For more information, refer to the official dev set.
Starting the dev-env Image
Firstly,
git clone https://github.com/ByConity/ByConity.git

# Make sure to navigate to this directory
cd byconity/docker/debian/dev-env

# Pull the latest image
make pull

# Start the container
make run
Associating Header Files
After entering the container, compile the Byconity source code first. The purpose of this is to allow VS Code to correctly recognize and associate the header files. This avoids subsequent errors in VS Code where many header files cannot be found during debugging. Here are the specific commands:
# The submodules are not included in the image, so they need to be manually downloaded to your computer. Ensure a smooth network connection and wait patiently. This command is executed in the root directory of the container, which is the directory you are in when you first enter, no need to switch directories.
git submodule update --init --recursive

# Generate the intermediate files required for compilation
cmake -S /root/ByConity -B build_dev

# The number 2 at the end means using 2 parallel tasks for compilation, which needs to be adjusted based on your machine resources. It is recommended to use memory size divided by 4, e.g., for 8GB memory, use 2 parallel tasks for compilation.
ninja -C build_dev clickhouse-server -j 2
Compiling ByConity
Execute the directory where cmake runs, and the compiled files will be in ${BYCONITY_SOURCE}/build_dev/program

Configuring VS Code
After compiling and building, you can start configuring the VS Code environment. Here are the specific steps:
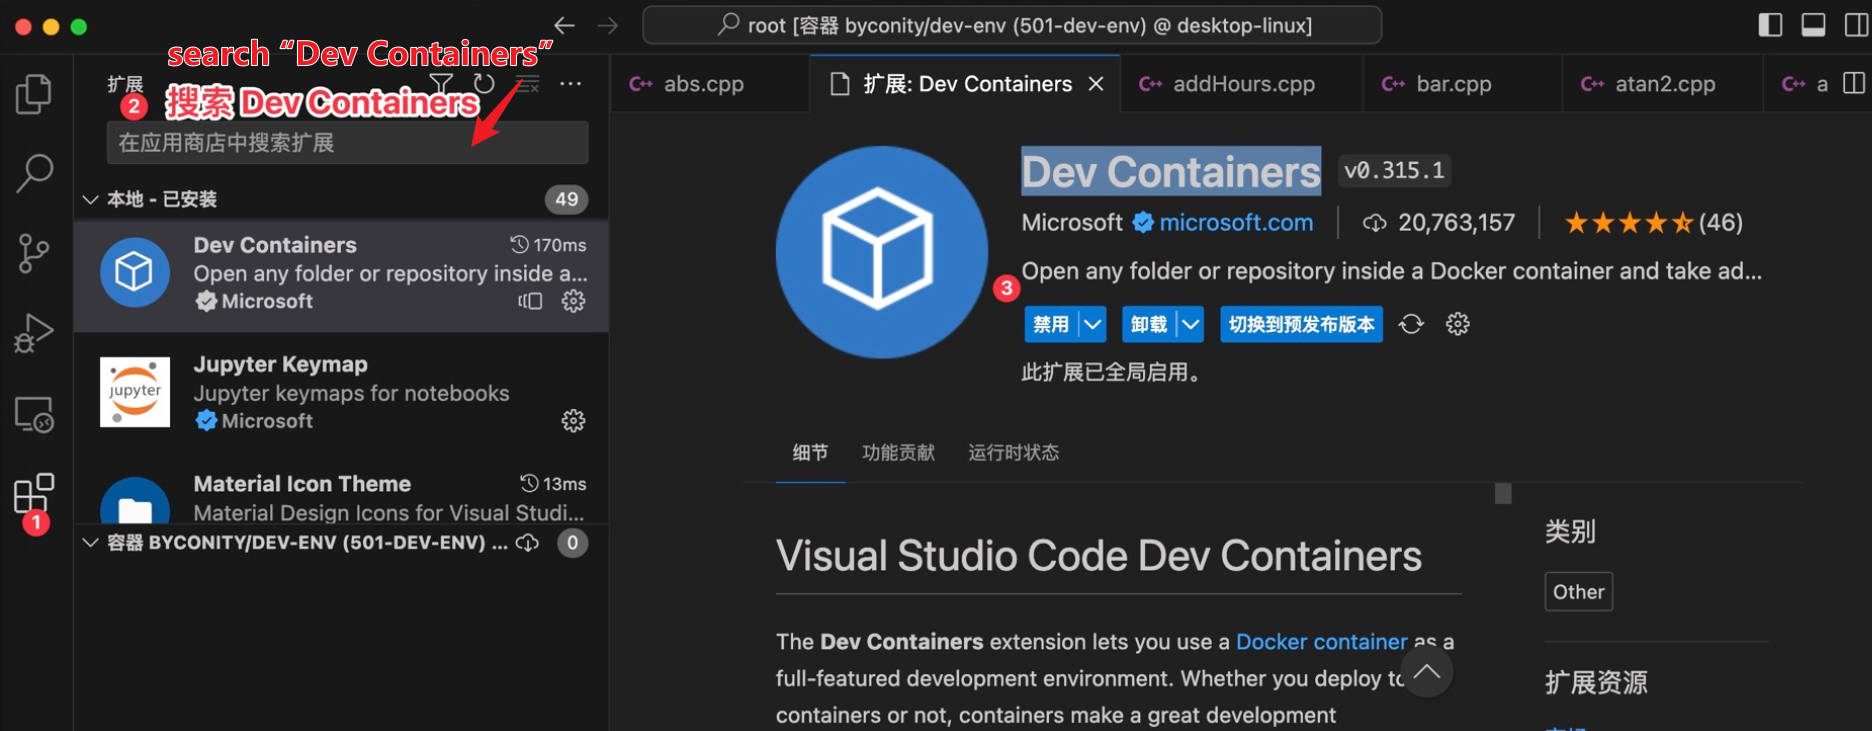
- Install the Dev Container extension

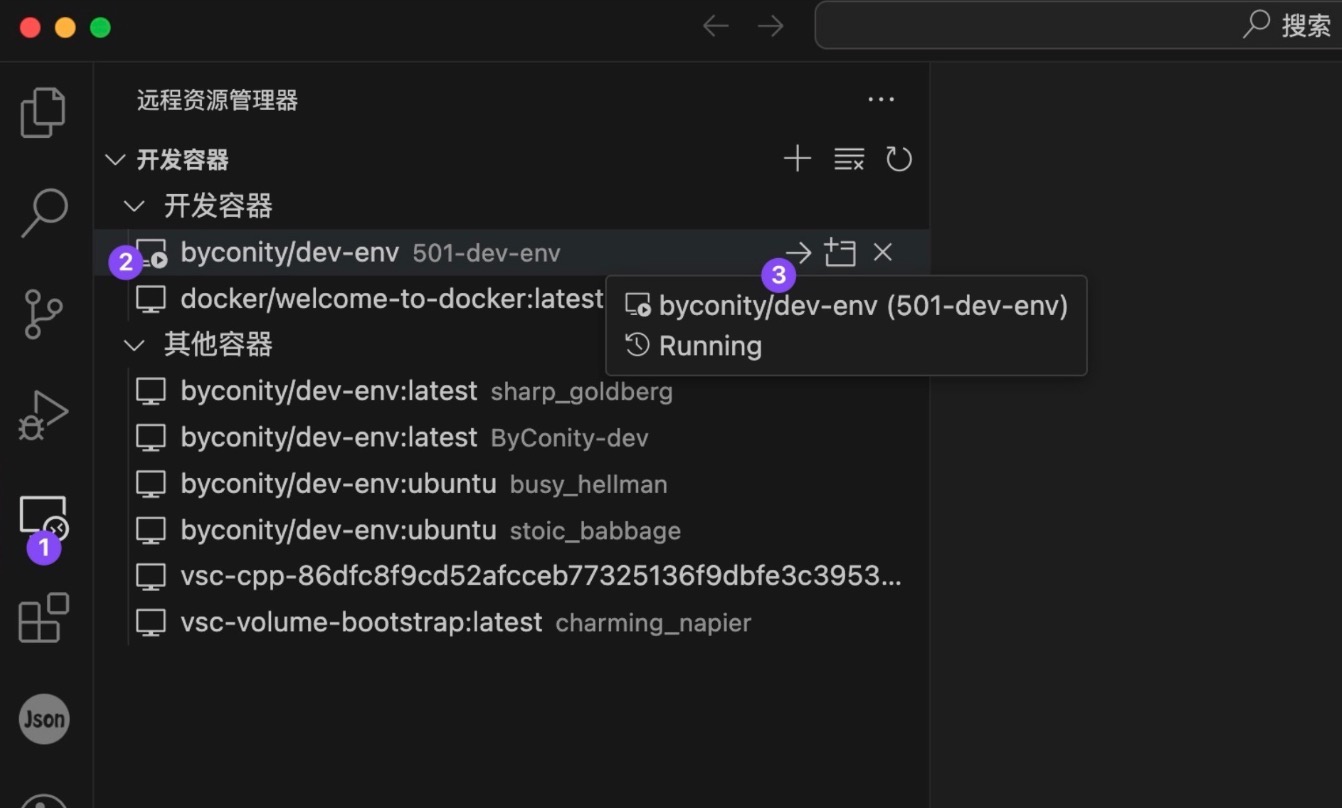
- Connect to the Docker container

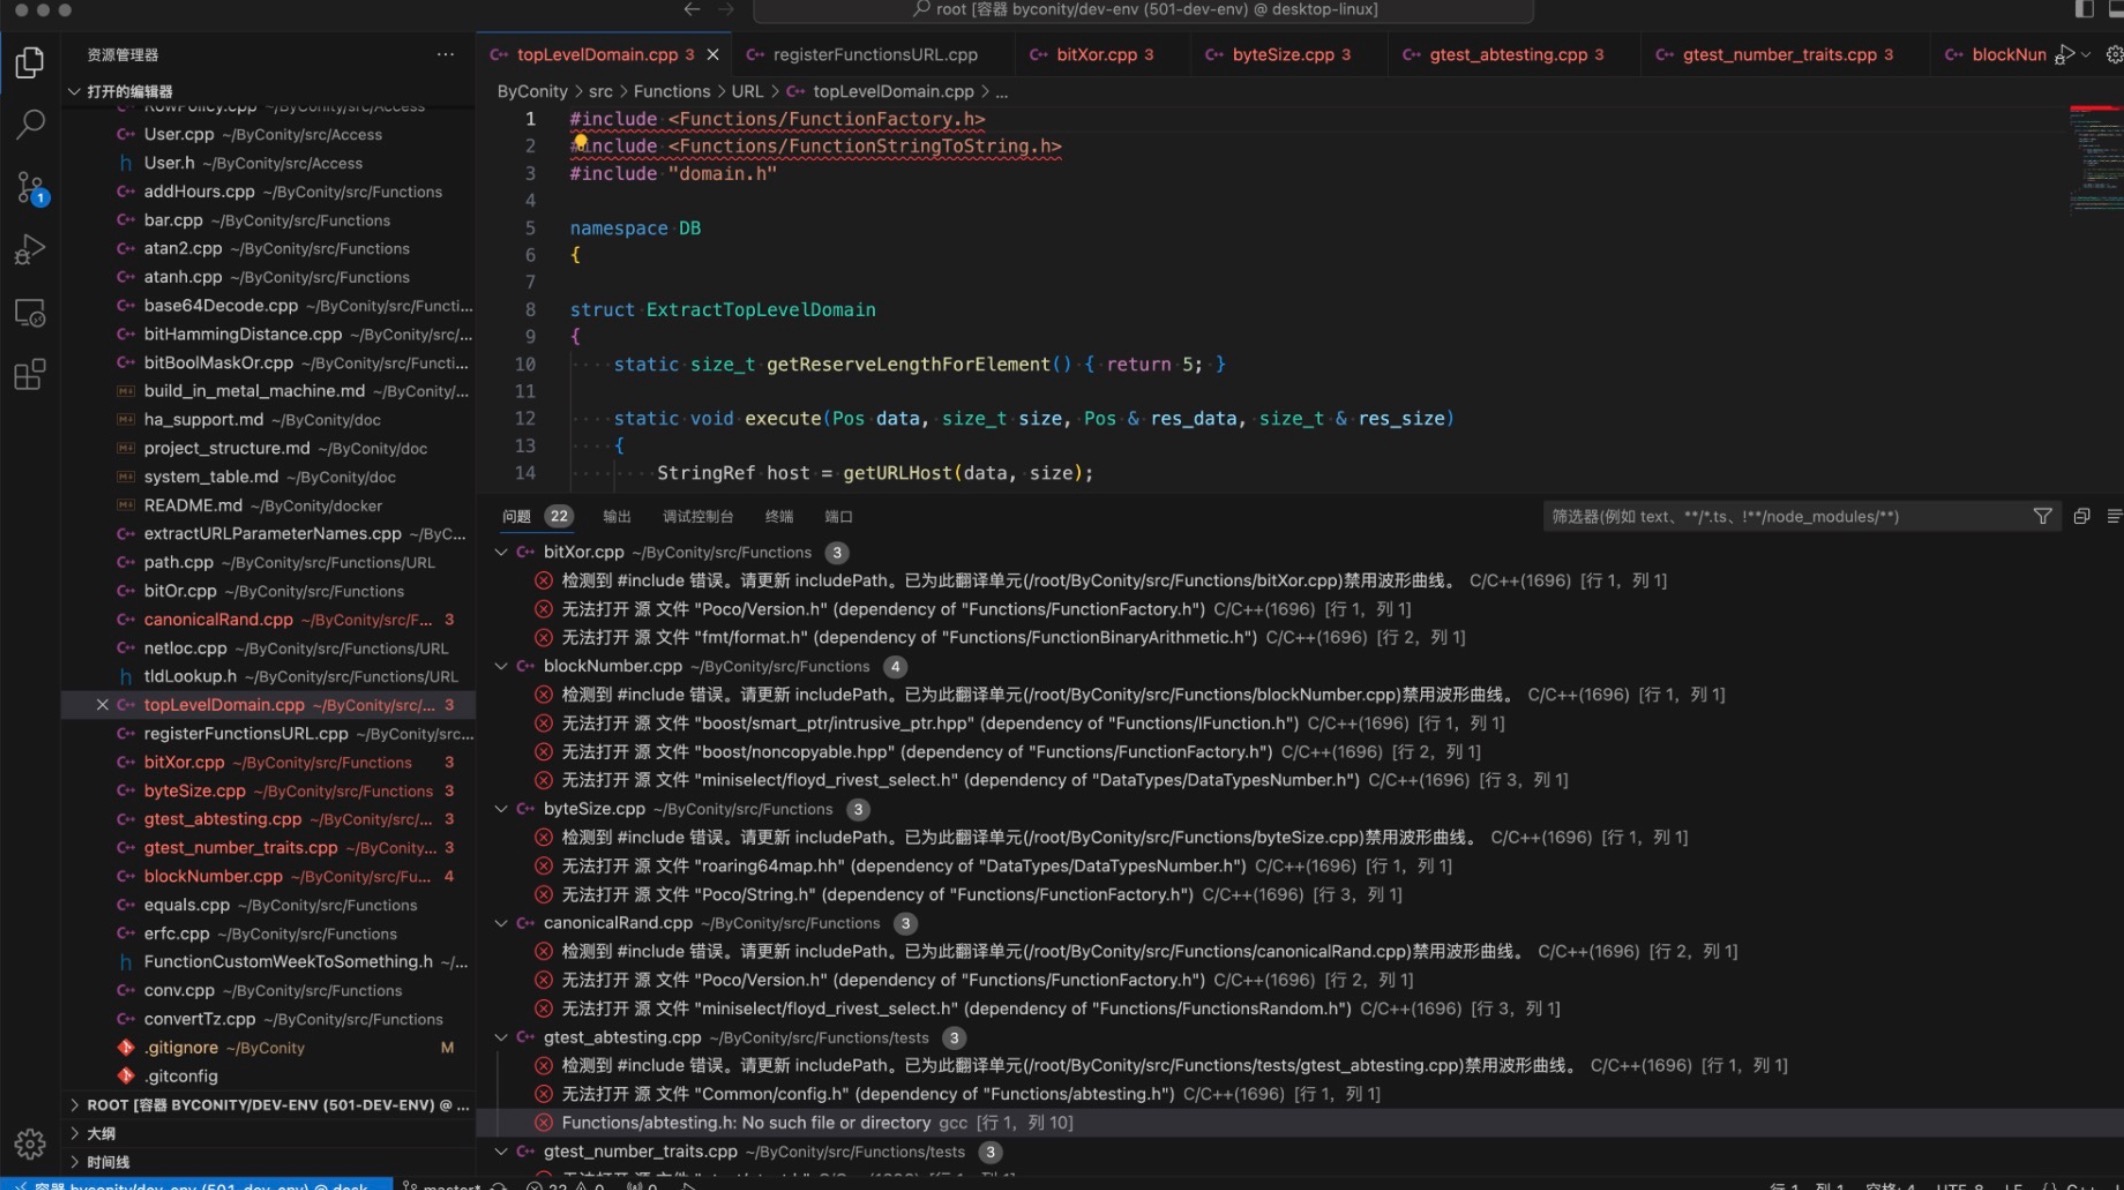
- Resolve header file issues
- Even if there are no errors during the compilation process above, VS Code may still show red squiggly lines indicating that it cannot find the header files. Don't worry, it just needs some time to recognize the header files.

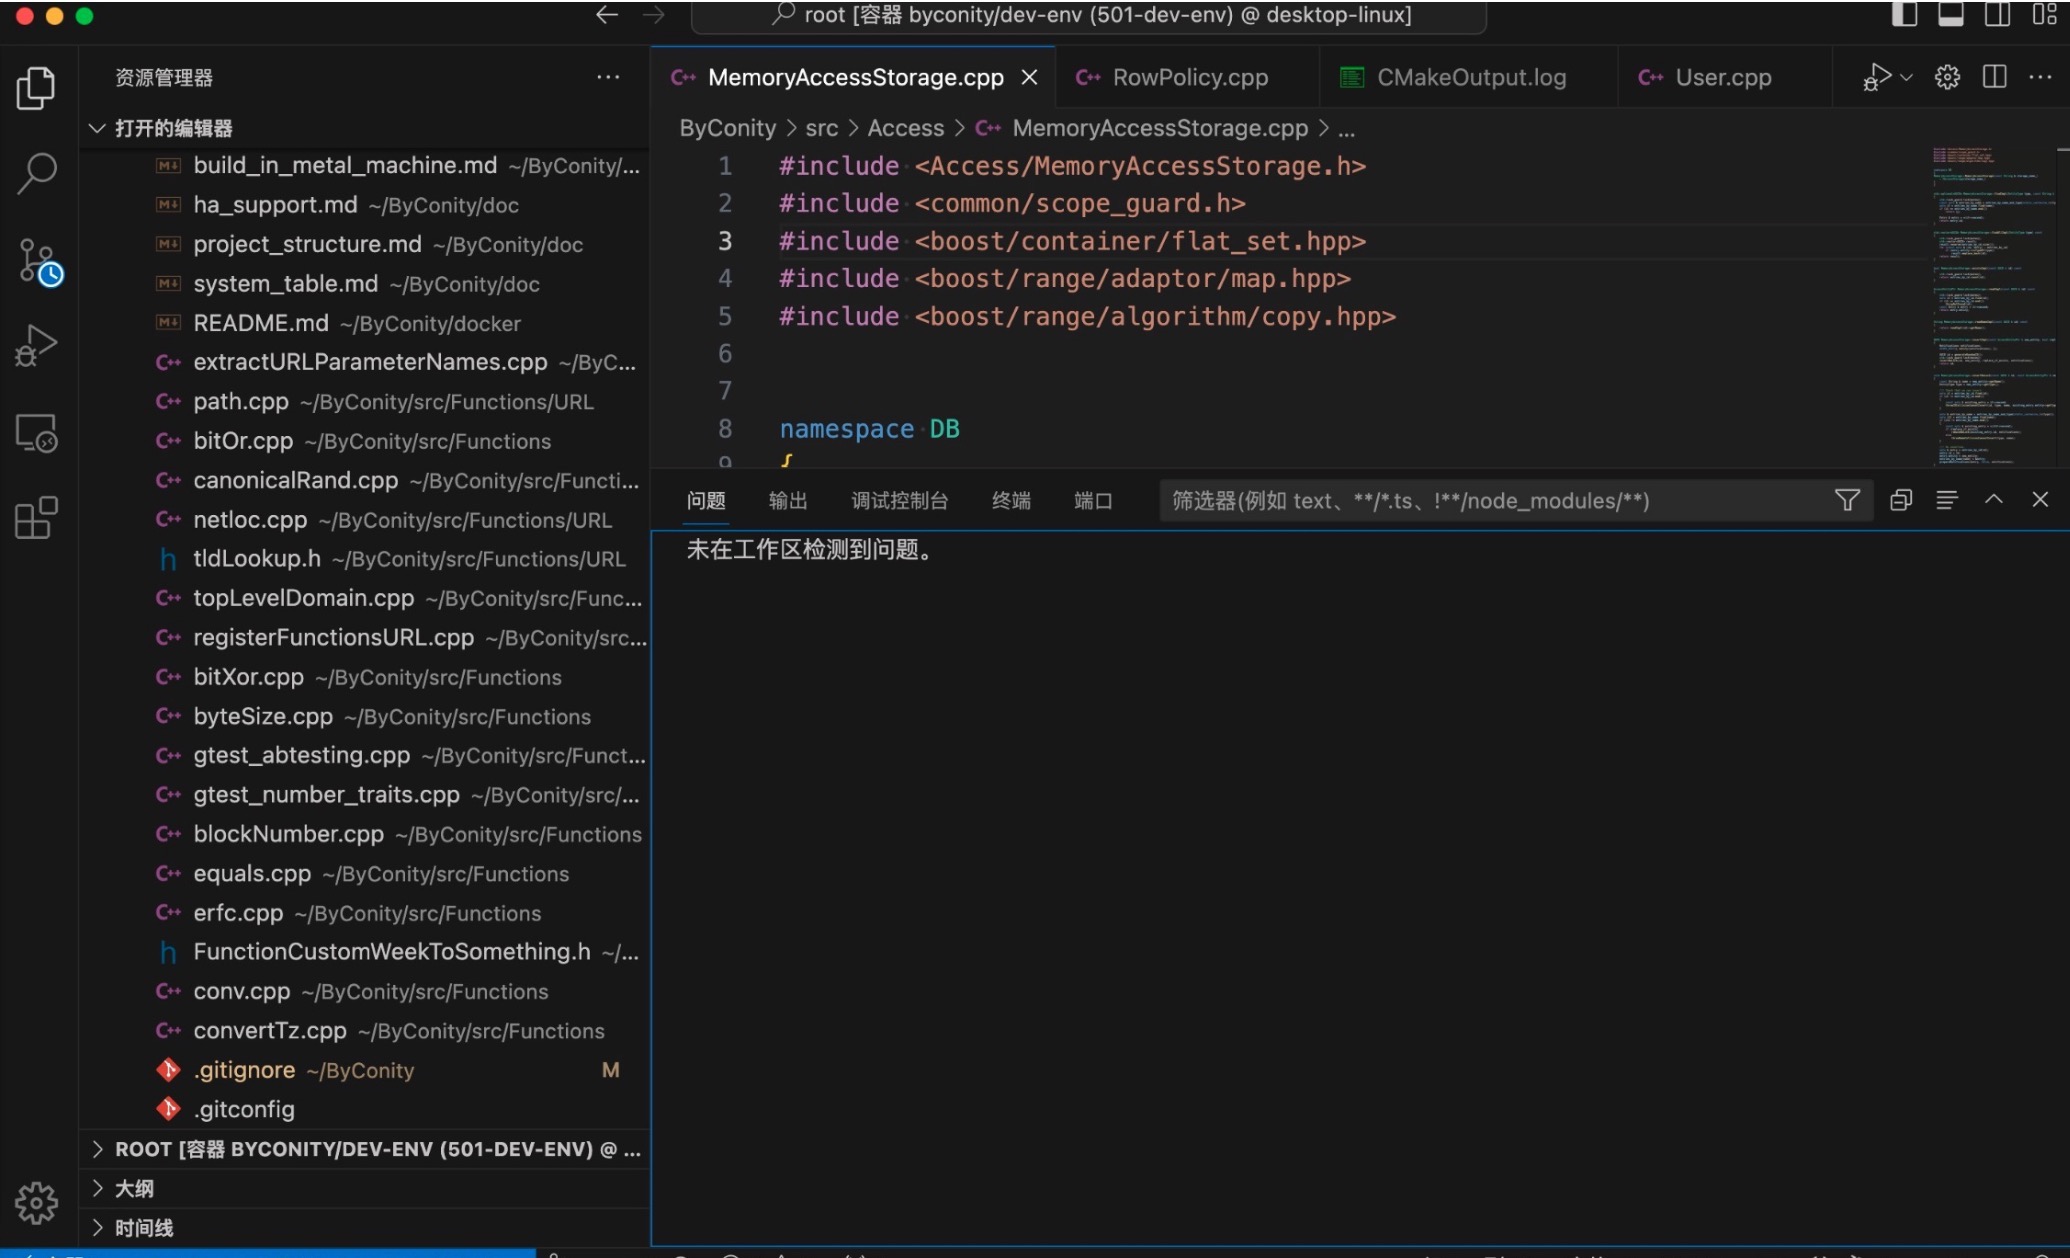
- Complete the environment setup
