ByConity development environment
Our core developers develop ByConity using a plugin called Dev Containers in vscode.This plugin allows us to connect to a Docker container environment running on a Debian 11 virtual machine.So we recommend you to do the same in case of compatibility issues. For more information, see offical dev。
run dev-env image
Start by pulling the image
git clone https://github.com/ByConity/ByConity.git

cd byconity/docker/debian/dev-env

# get the latest image
make pull
You can start the container "byconity/dev-env" with the following command:
# run container
make run
Inside the container, you can compile the ByConity code using the following commands.
The compiled binary is located in your local file system under ${BYCONITY_SOURCE}/build_dev/program
# get submodule, otherwise the IDE reports the error include head file error
git submodule update --init --recursive
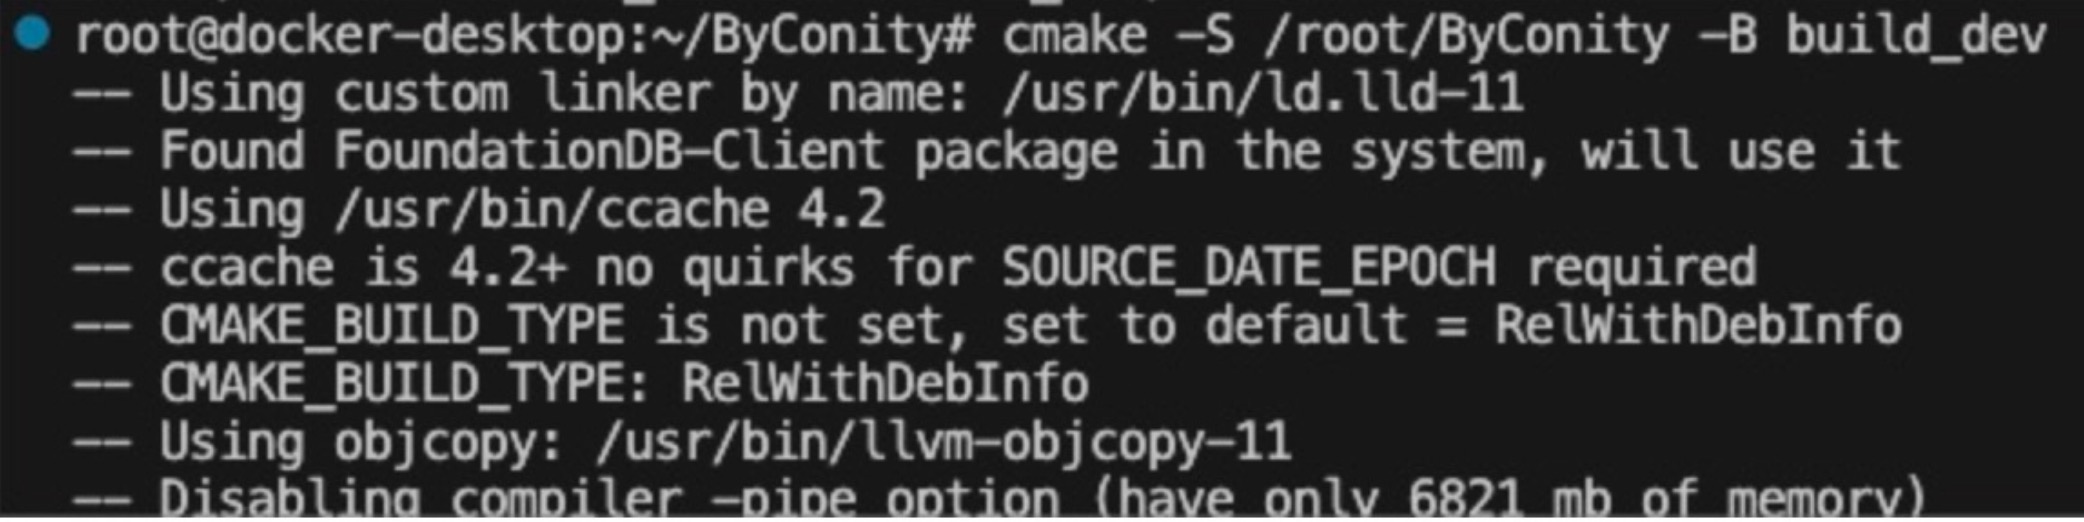
cmake -S /root/ByConity -B build_dev
# 64 means that 64 threads are used for building, you have to change it depending on your computer
ninja -C build_dev clickhouse-server -j 64
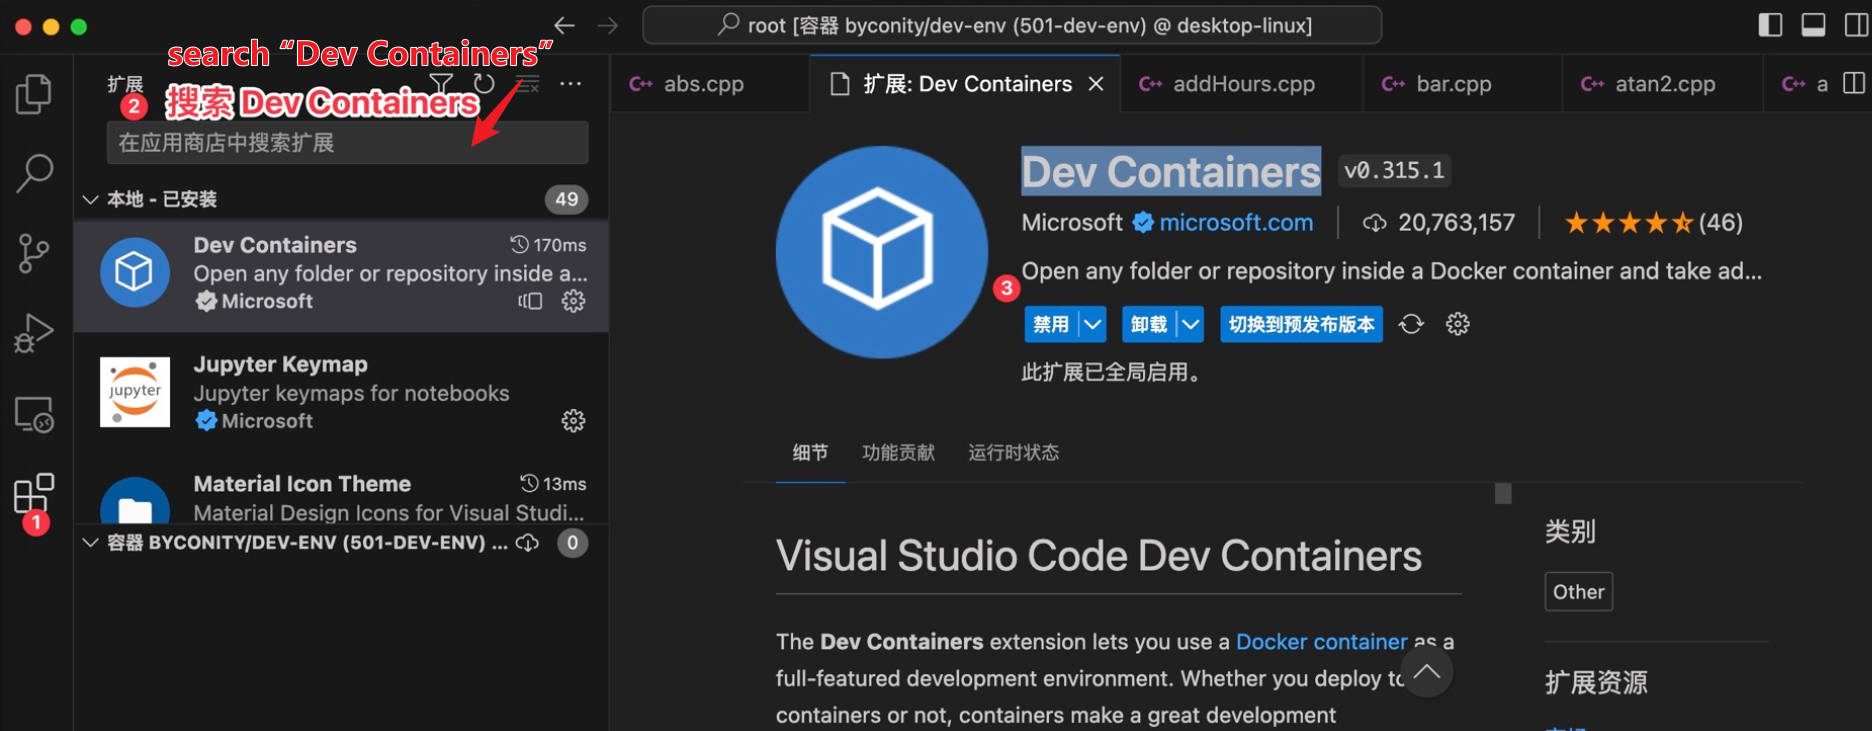
Config vscode
Install dev container
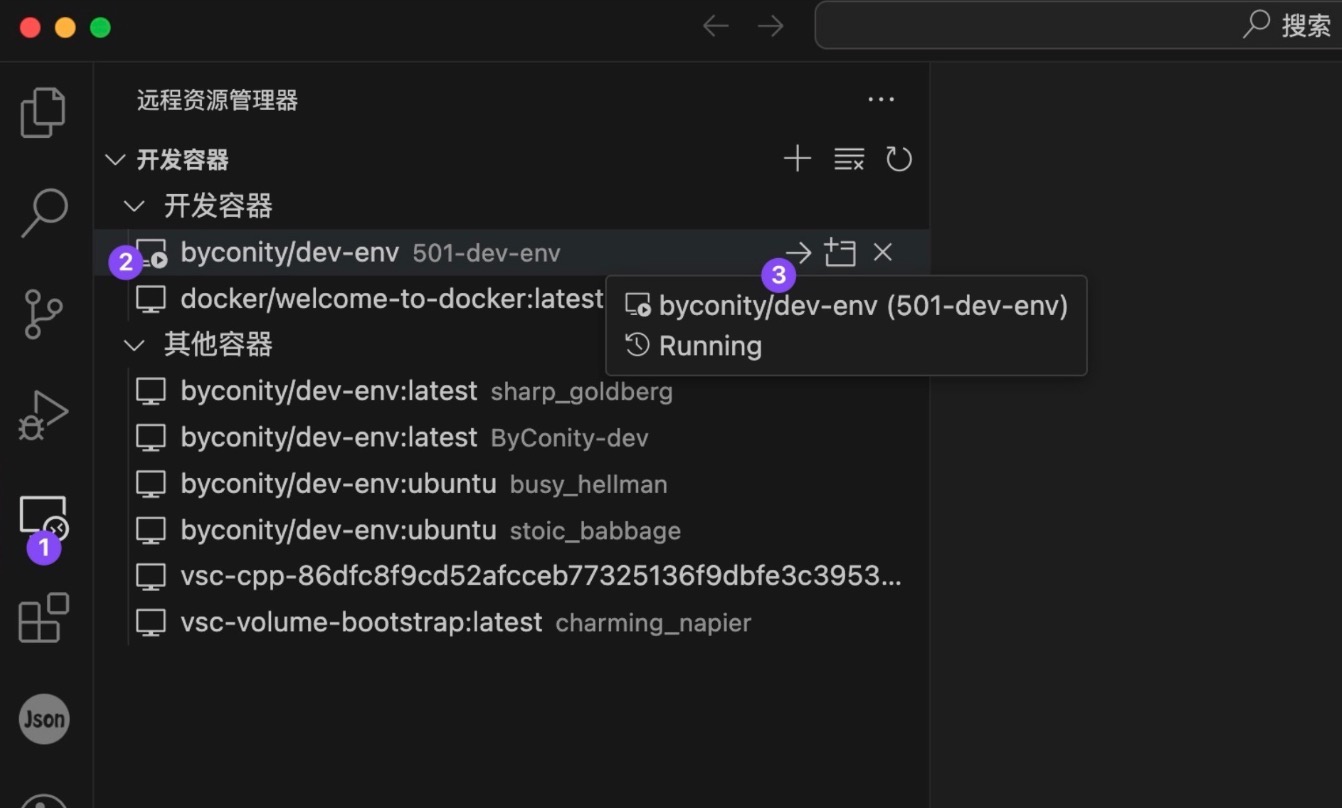
Develop in vscode
Connect to the Docker container
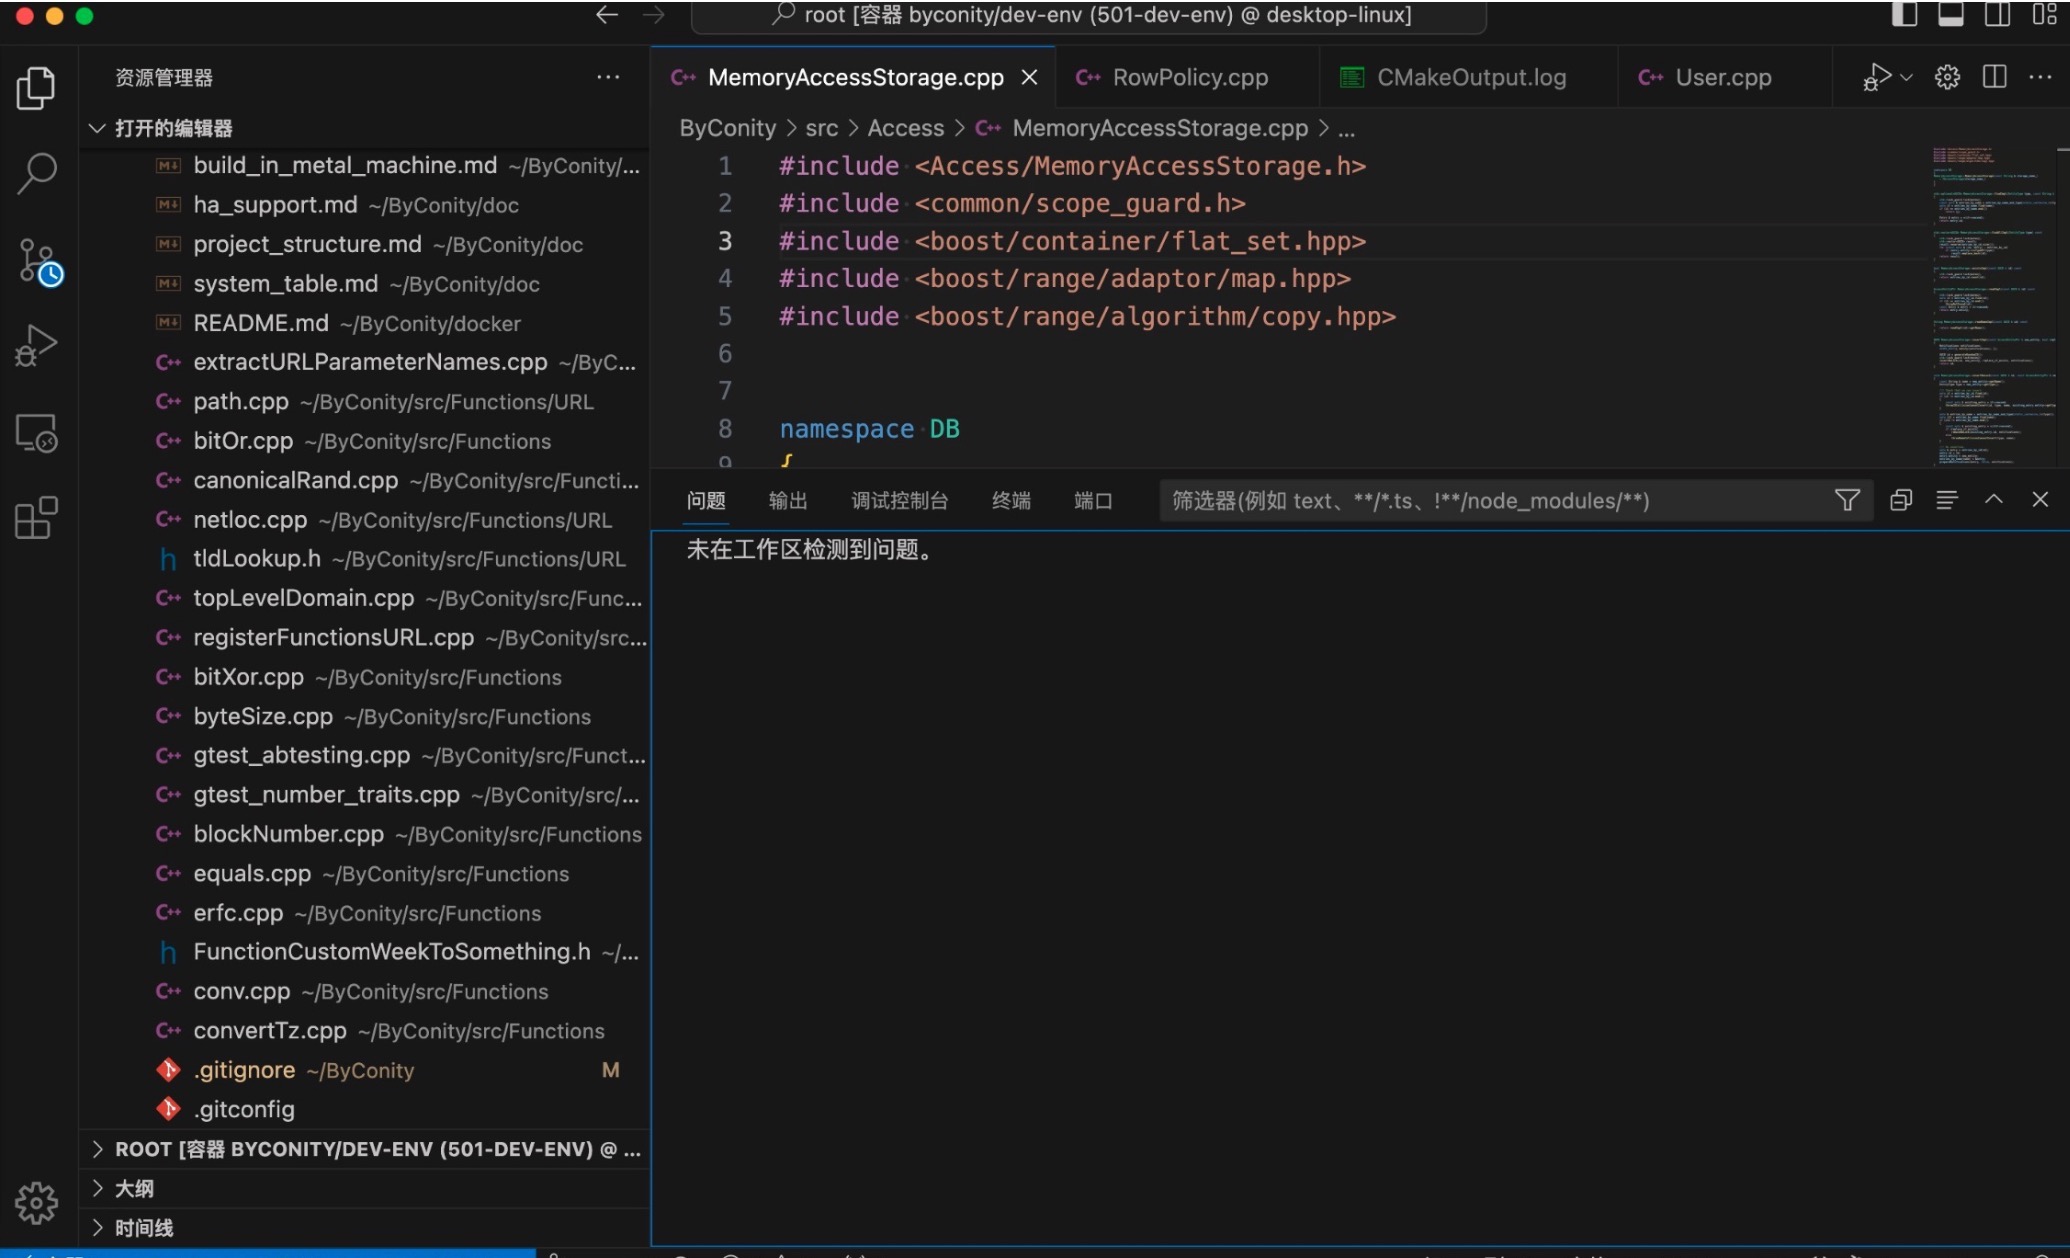
- When you use vscode for the first time, it reports many problems with header files cannot be found, as follows
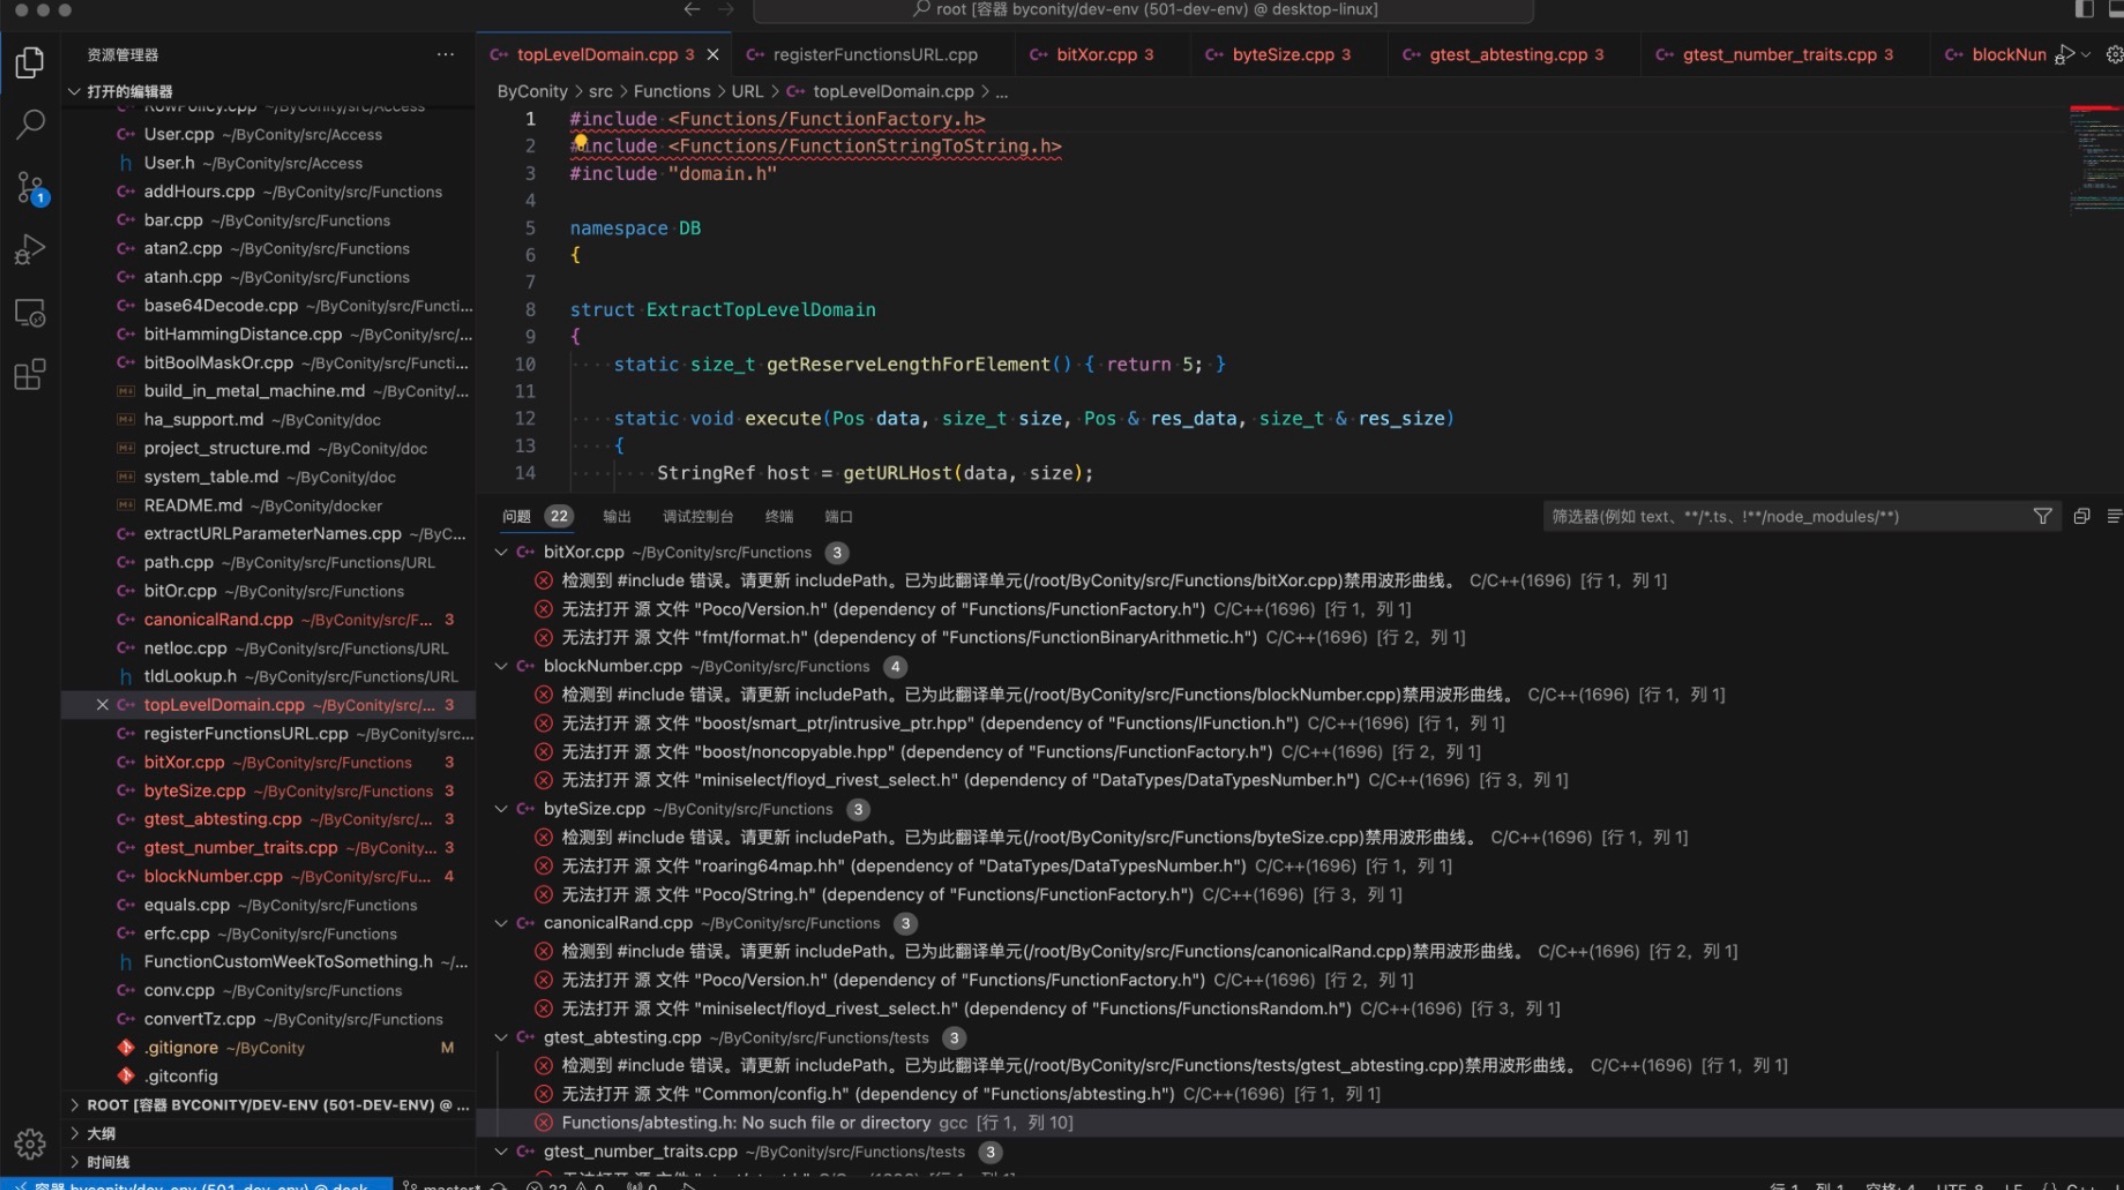
How to fix the Header files cannot be found problem
Now you need to go to the ~/ByConity directory of your Docker container and run the following command to download the submodules in Docker. The repository to download is quite large, so be patient and make sure your network is working properly.
Once the module download is complete, switch to the ~/ByConity directory again and run
# get submodule is essential, otherwise the IDE will report an include head file error

git submodule update --init --recursive

# cmake again
cmake -S /root/ByConity -B build_dev

# 64 means that 64 threads are used for building, you need change this depending on your computer
ninja -C build_dev clickhouse-server -j 64
the directory where cmake runs
After the execution is finished, the problem that the header file cannot be found is solved.